I love when I get “the call.”
I love answering the phone and hearing a request for a wall mural. Whether it’s a tree, or a skyline, or some adorable pooches in their element, I absolutely adore being able to create a one-of-a-kind, custom space for a client.
And this time was no different.
YRMC recently acquired the pediatric offices of Dr. Subbu here in town (Yuma, AZ), and asked if I would paint a tree book nook for some of the cutest patients in the Southwest.
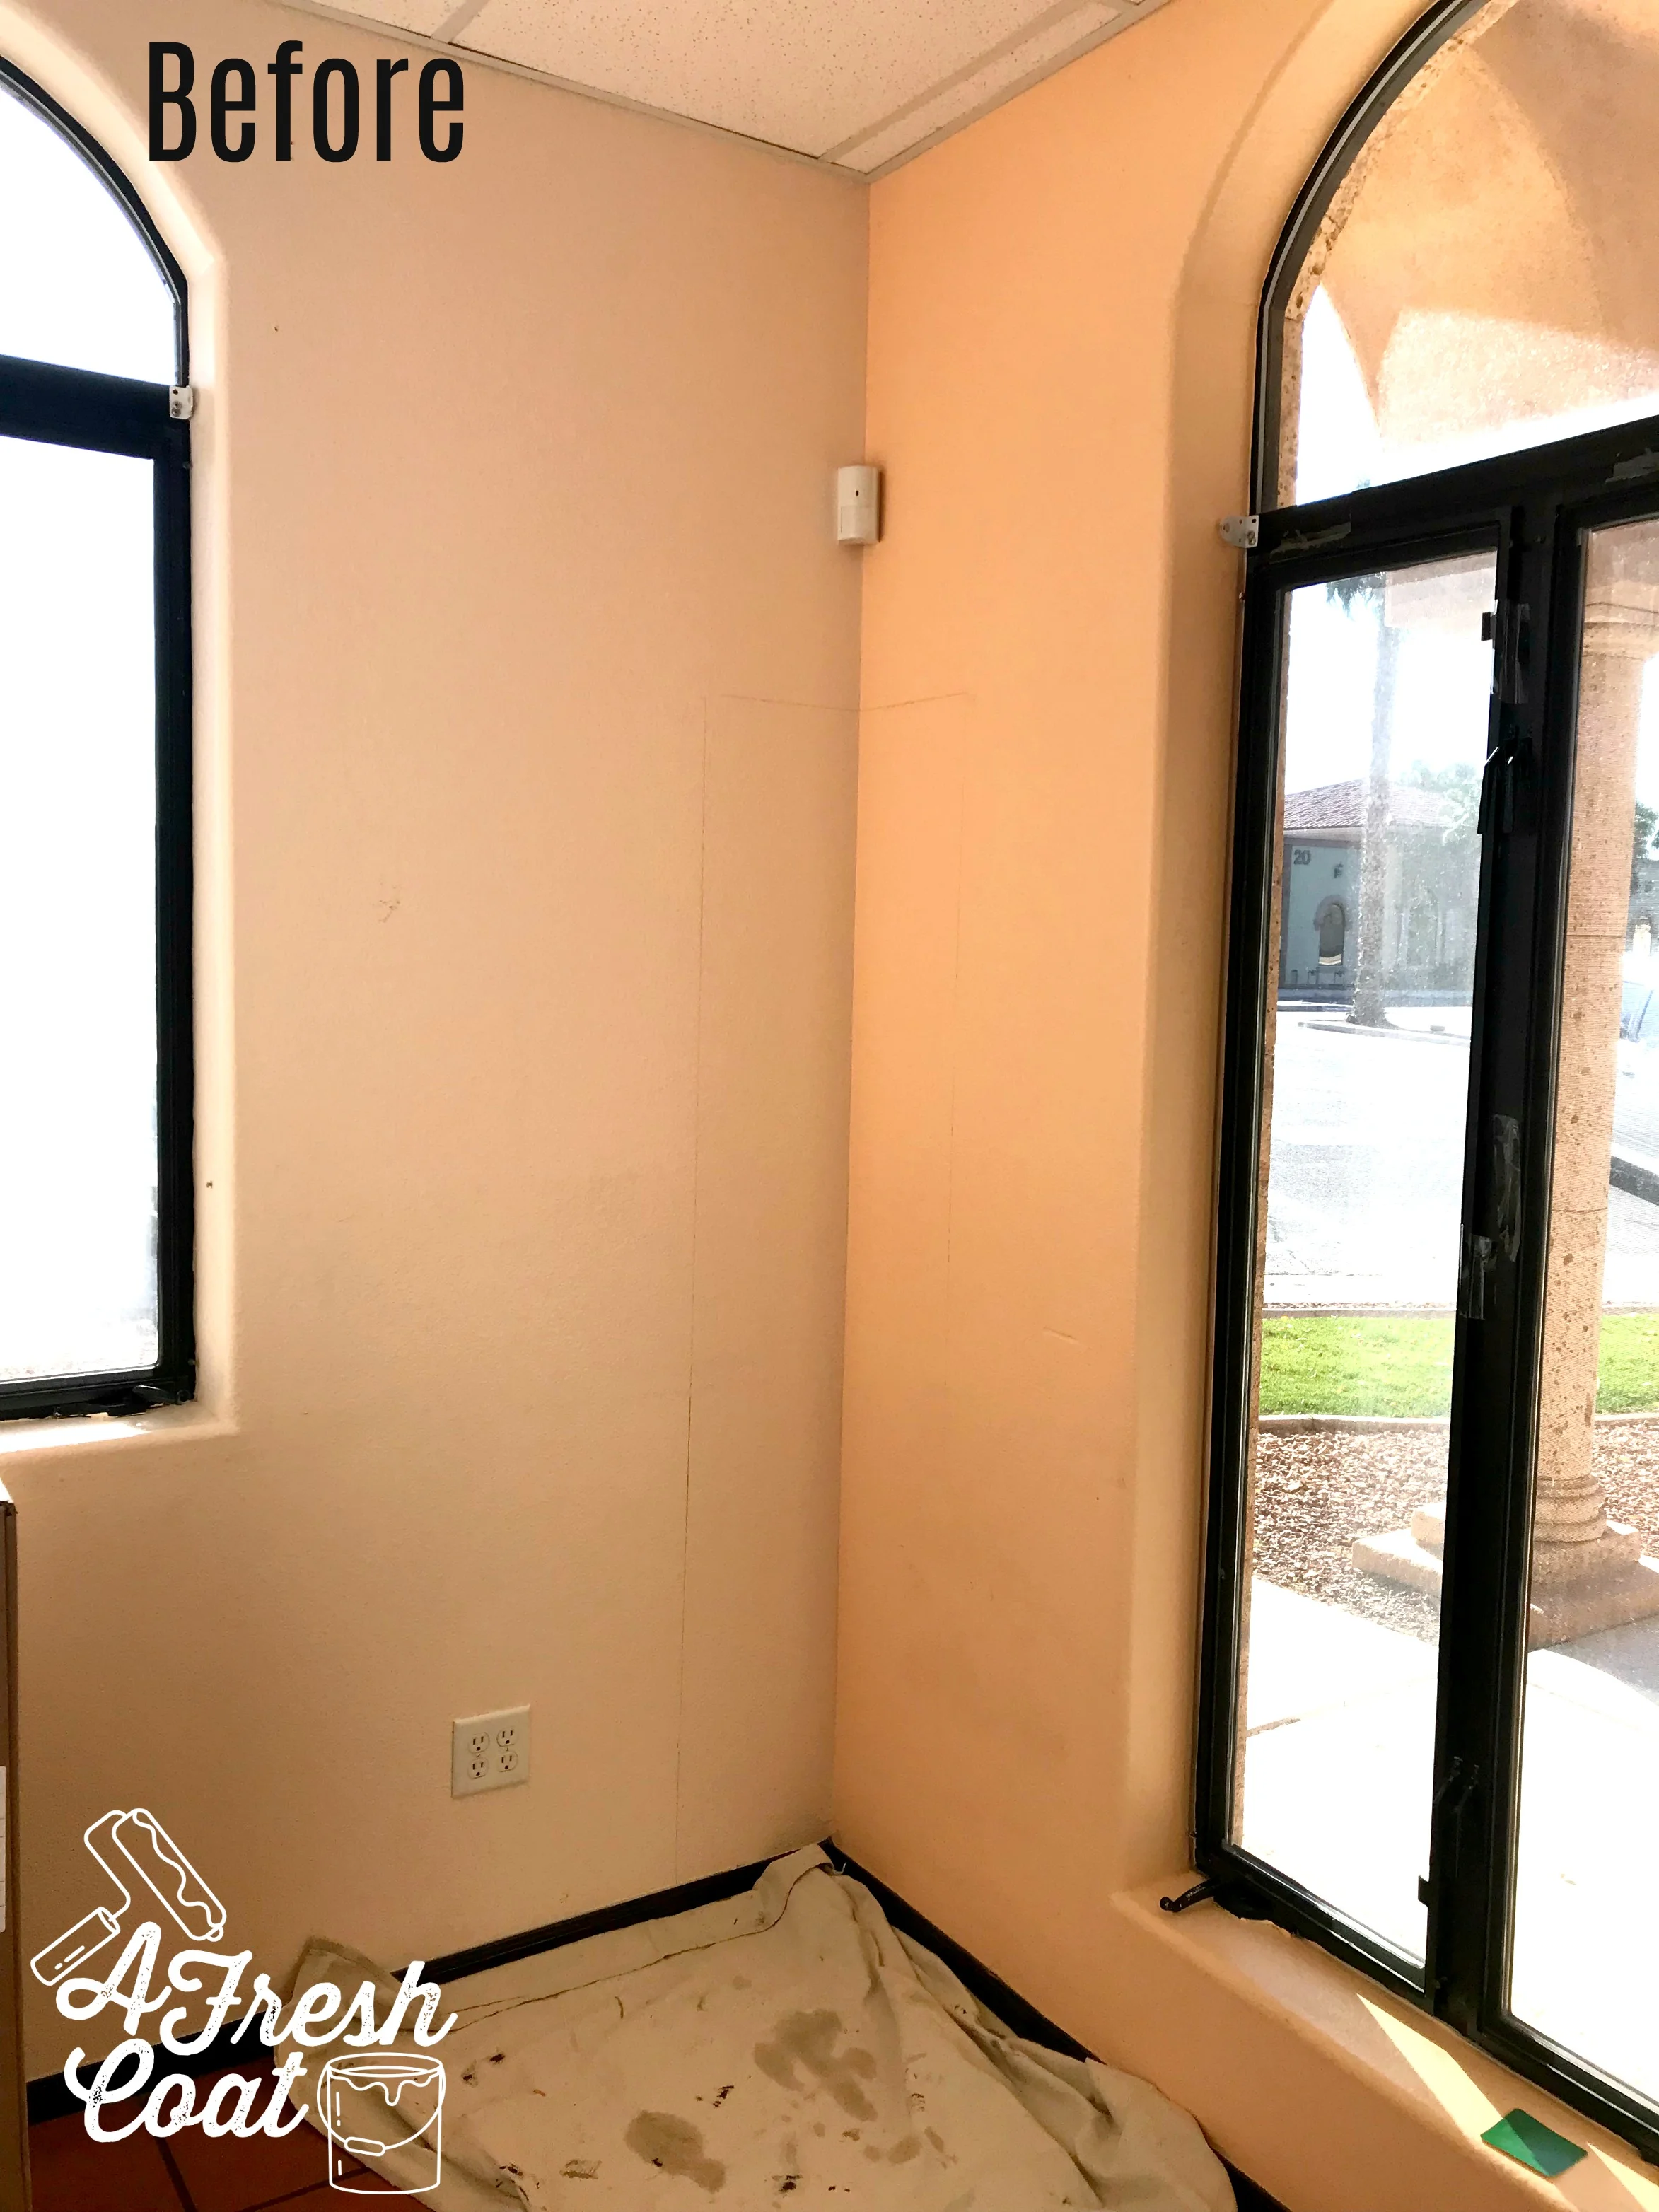
With the bookcase still under construction, I quickly got to work on the mural. This is where we started:
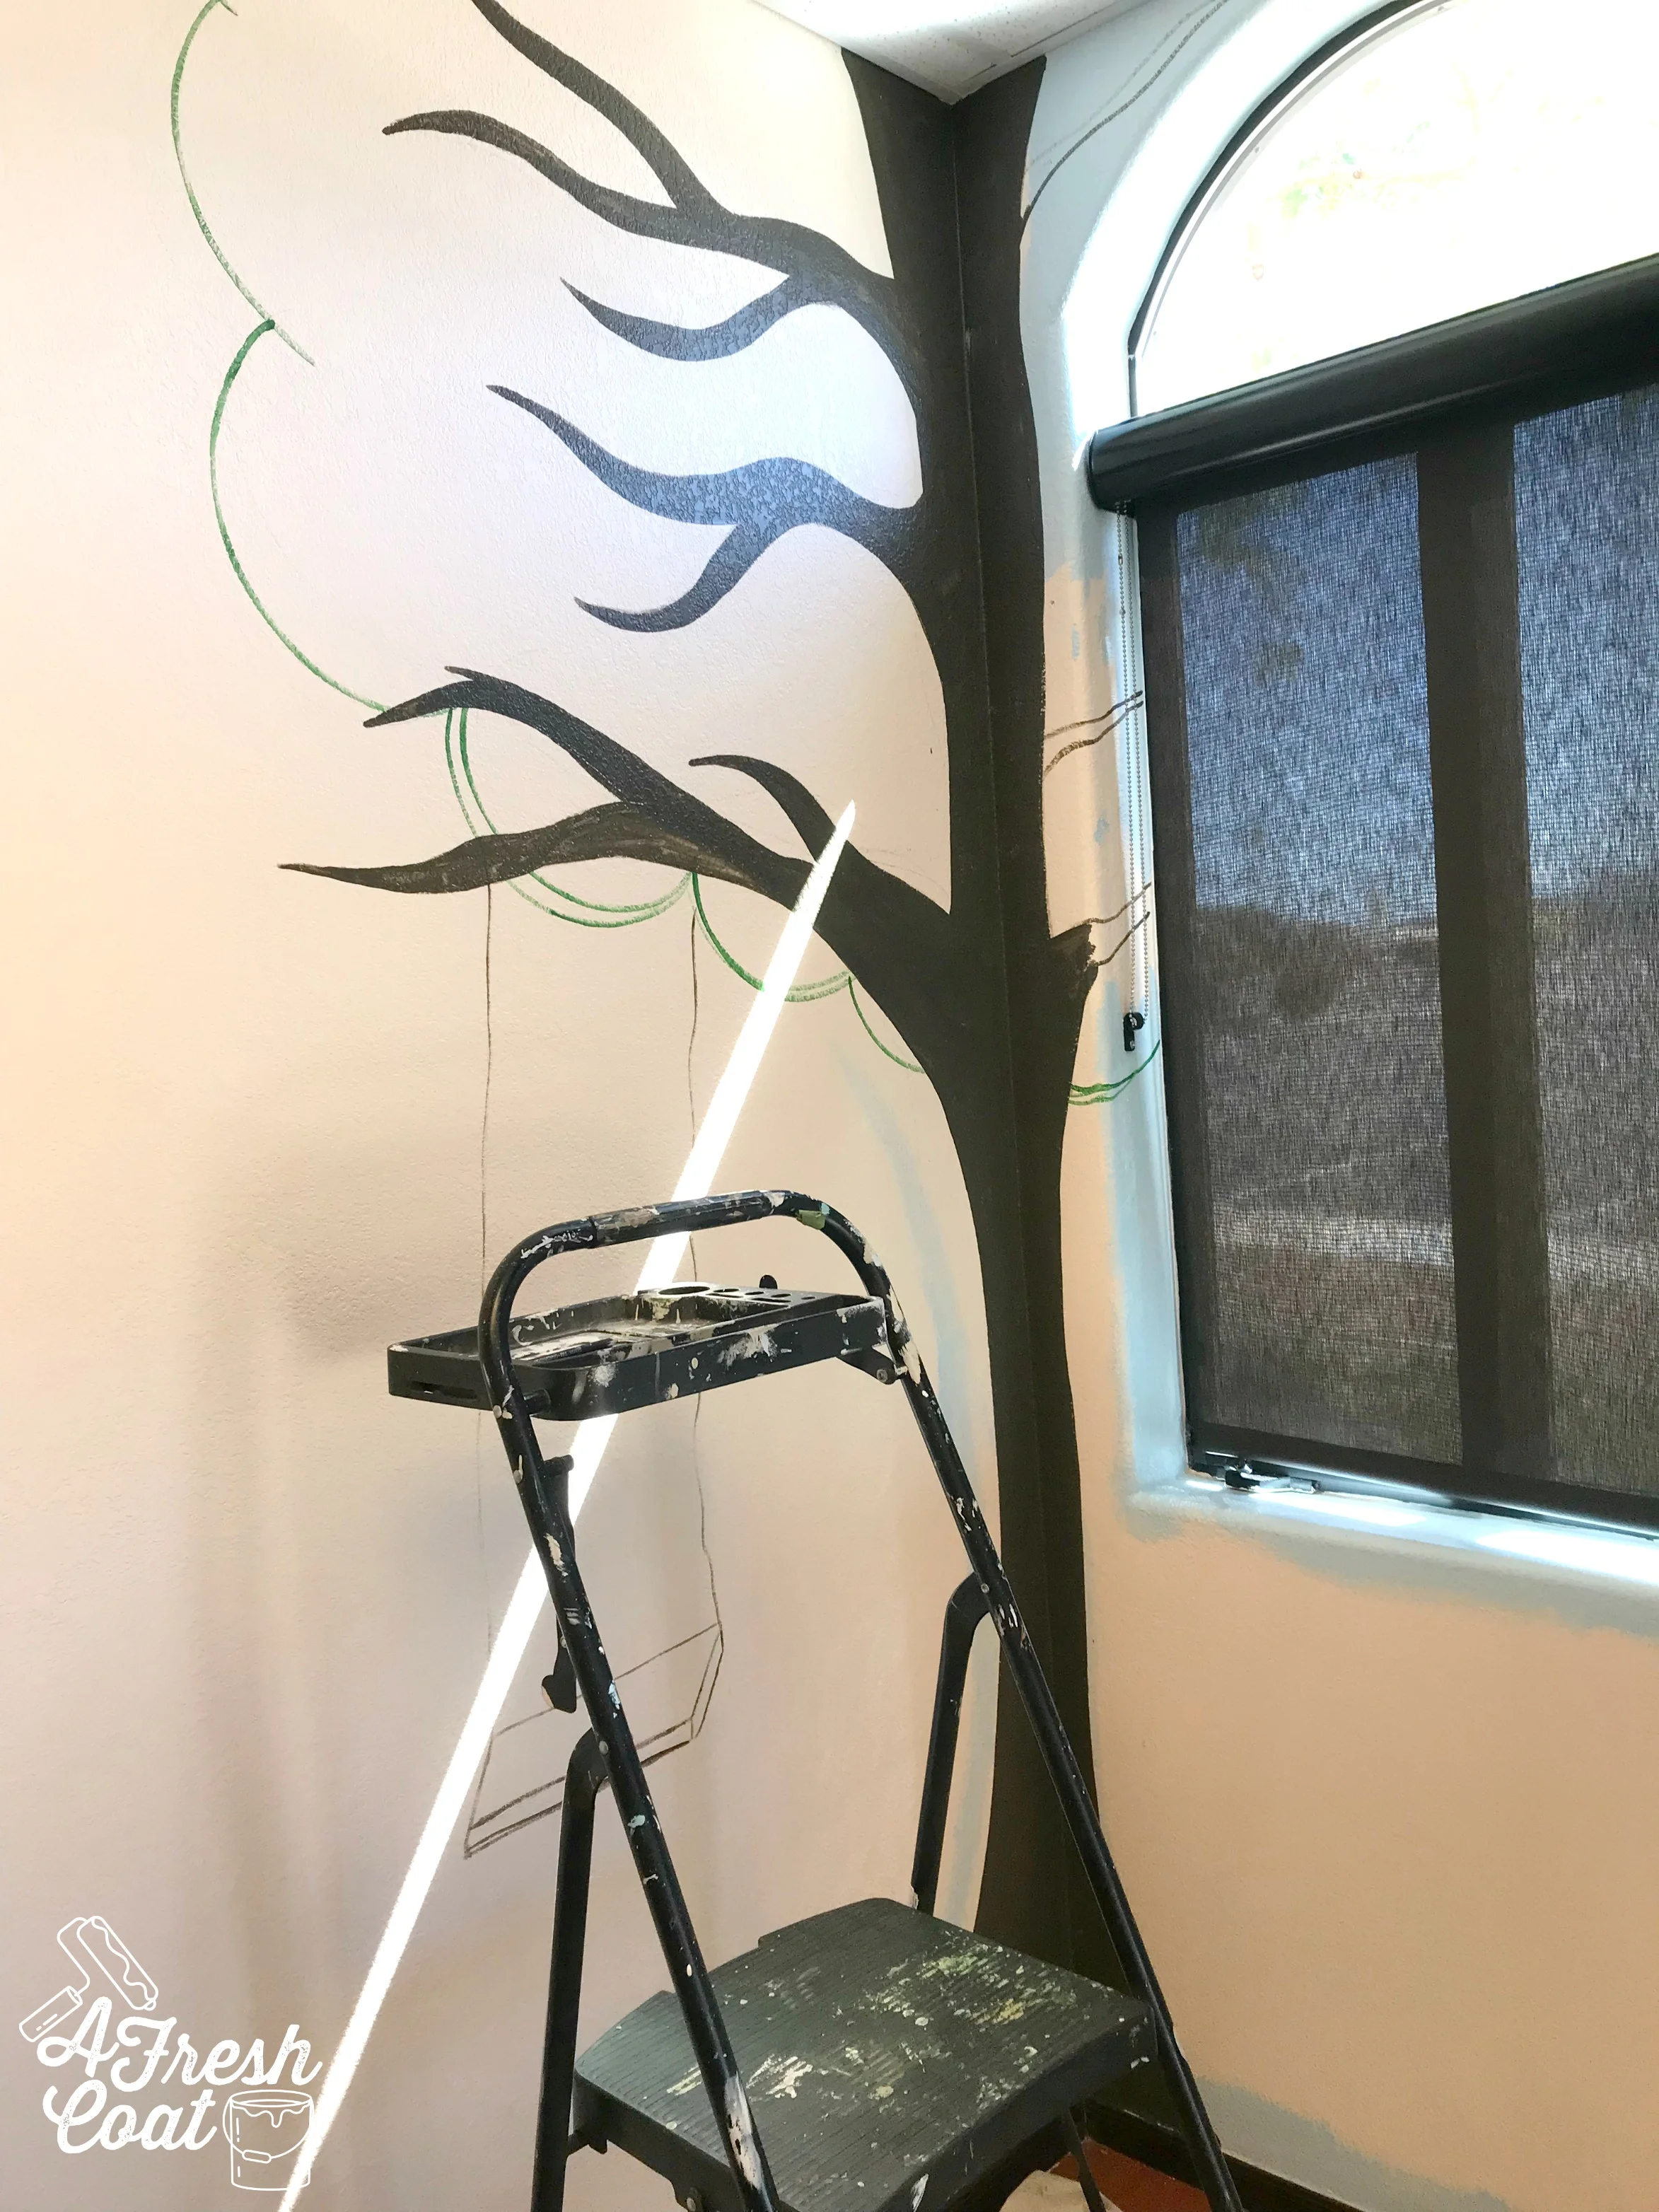
The outline of the bookcase was already in place so the first step in creating this mural was to begin sketching the canopy of the tree—-the foliage and the branches. Once that was completed, I used an angled brush to go over my lines in color in order to visualize the final project a bit better and fix any imbalanced areas/funky spots.
Next up? painting. By filling in the canopy with a first (followed by a second) coat of paint, the tree was beginning to take shape.
Next up were the branches.
Once the branches were filled in, it was evident that the right side of the tree needed some tending to. Just as this baby needed another coat of paint, some depth added to the branches, a bit of highlighting here and there, and a bird. Yah, a bird was definitely needed.
Here she is! All painted and ready for her bookcase trunk! Seriously, these murals bring me so much joy to create and I love that this piece will be enjoyed by the youngest in our Yuma community.
But wait! After viewing this tree, YRMC asked if I could add more. They wanted a sky in the background, an additional tree, some clouds, and grass in order to make this little nook really special and to help it become even more inviting.
Of course I was game!
Part 2 started here:
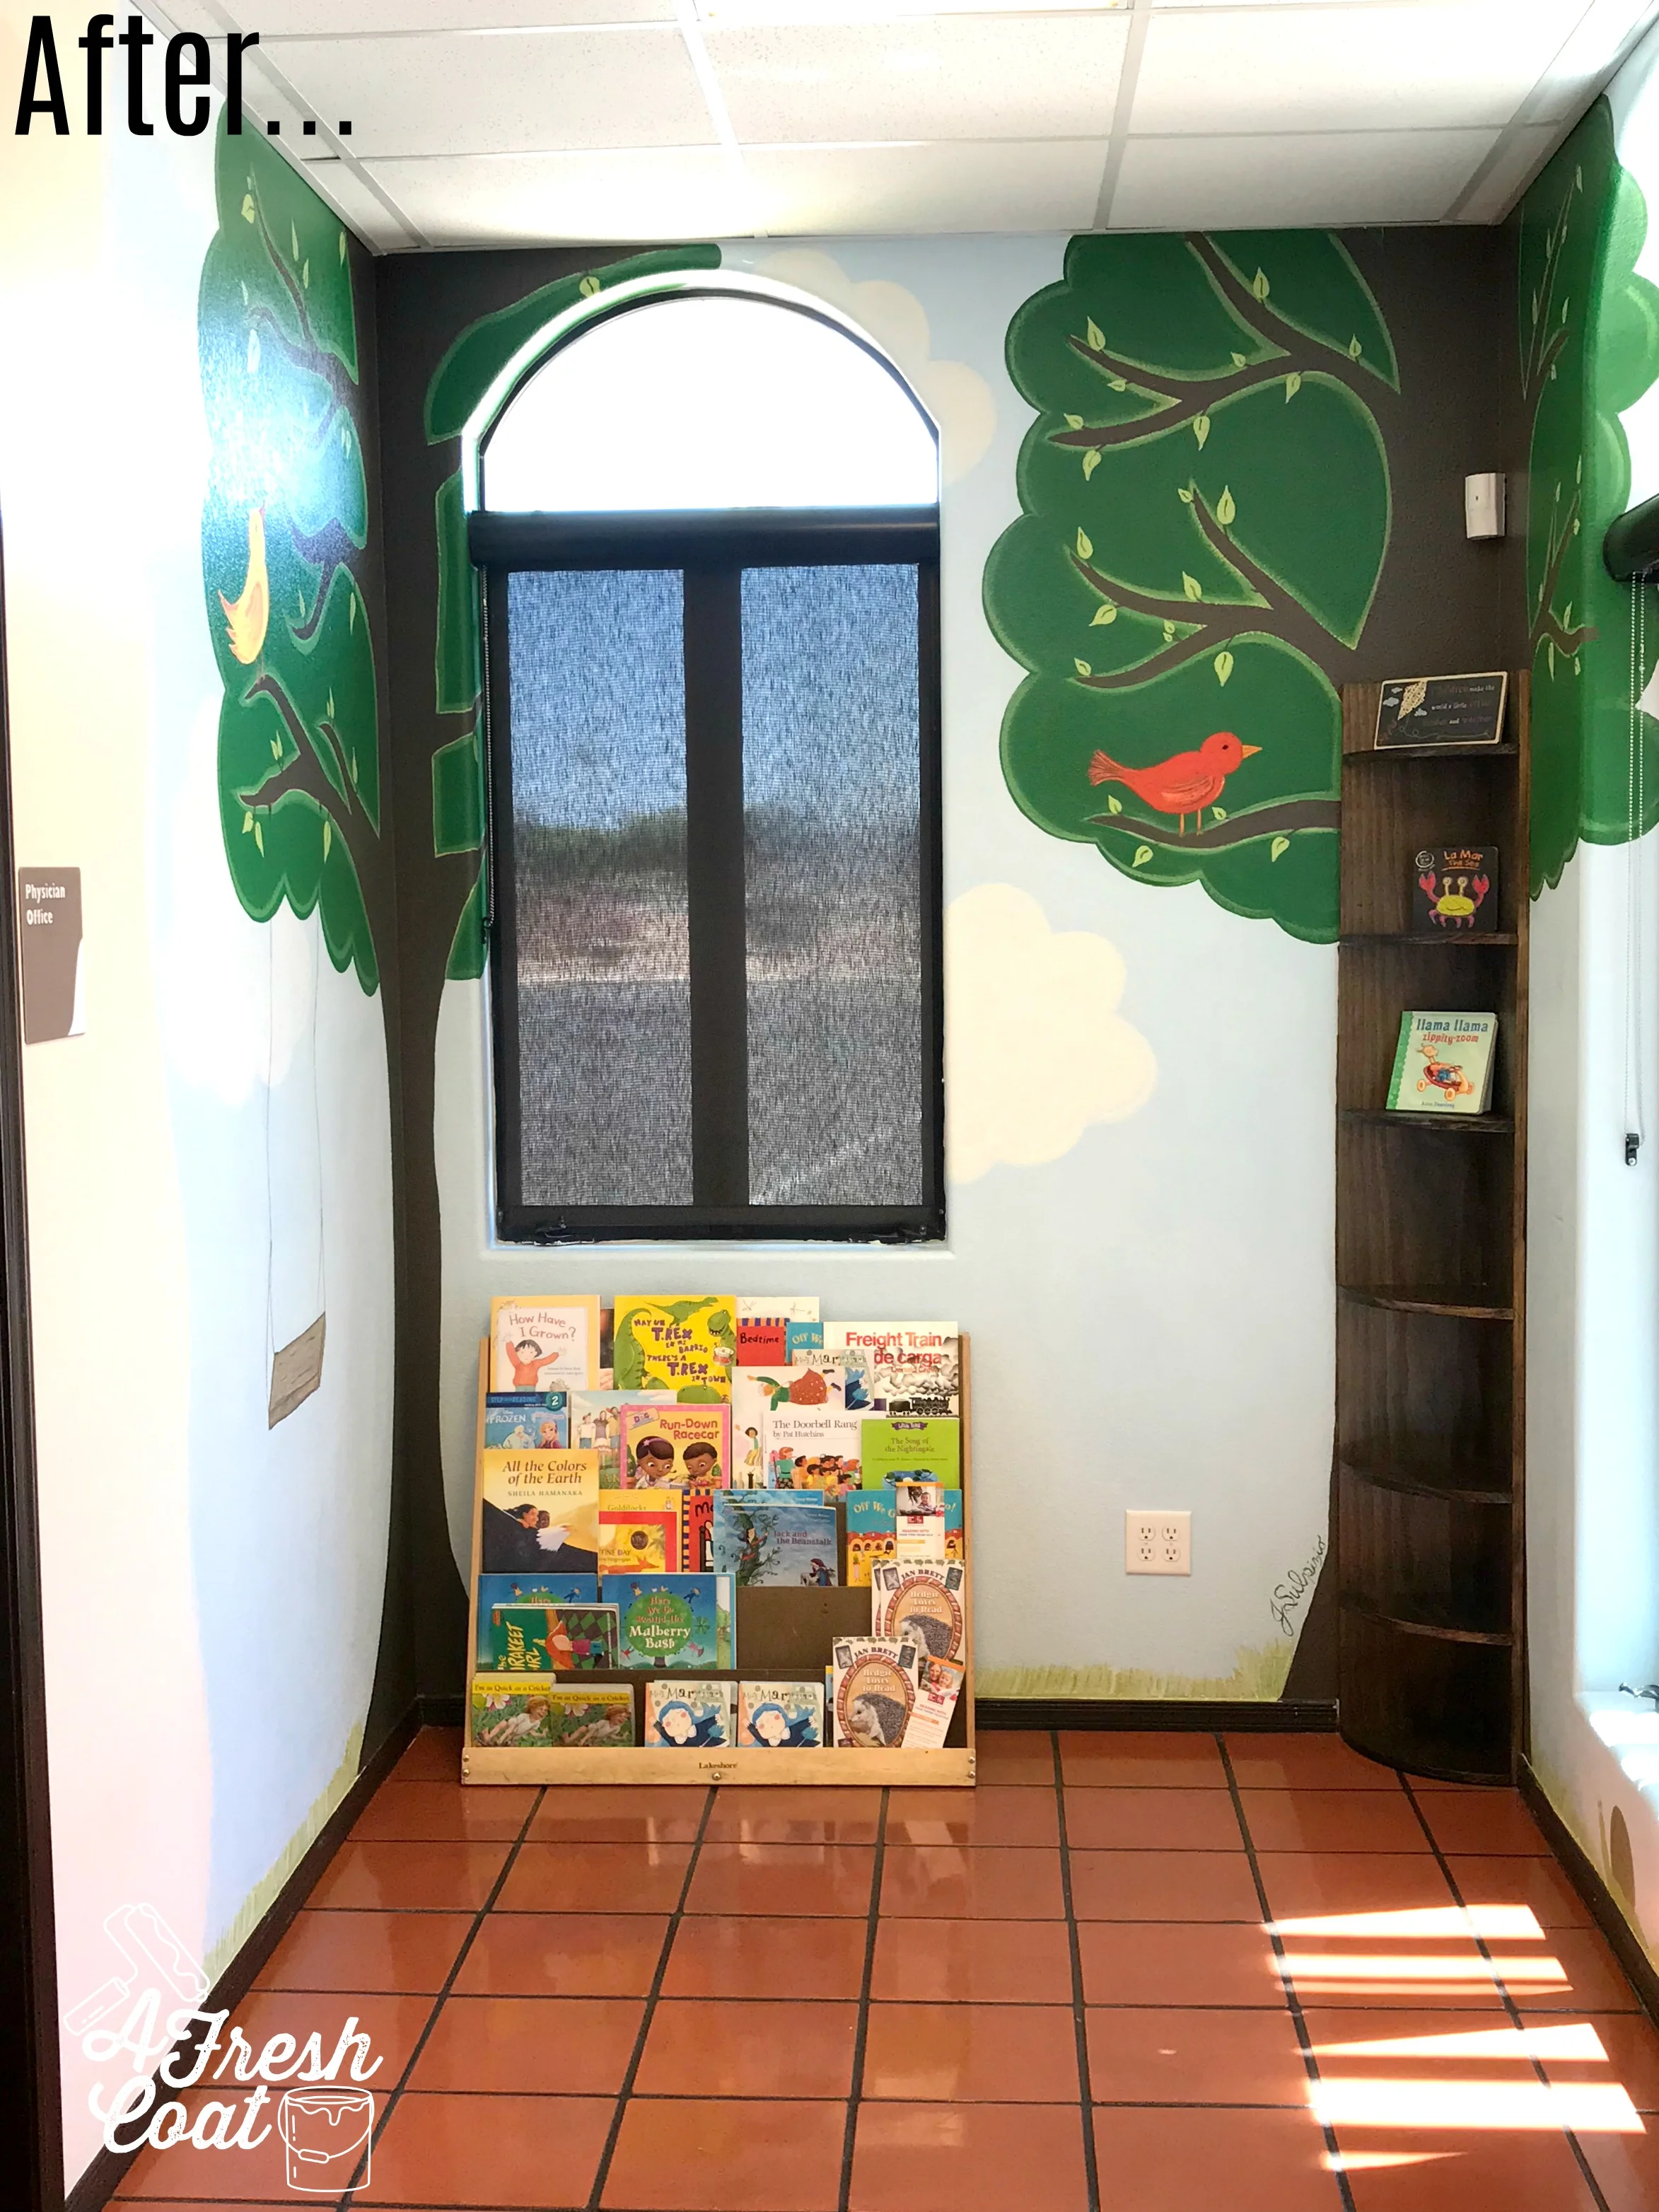
I completed the same steps as outlined before, but decided to add a tree swing for just a little more fun. After eight more hours of paint (yes, eight!), the mural was complete. It’s a special spot just waiting for some cute kiddos to make it even sweeter.
So very excited I could be a part of this project! Oh, and I couldn’t forget this fun guy. Say “hello” to my little friend…
One more glimpse of the before and after of this quaint little space:
Colors:
Valspar’s Vegas Green—Canopy
SW Lime Rickey-Highlighting/Grass
SW Alabaster-Clouds/Grass
SW Soar-Sky
SW Avocado-Highlighting/Grass
Valspar Turkish Roots—Trunk


